Latex Painting 101 – Your Guide To DIY Success
Are you thinking about taking on a paint job to update the appearance of your home? You may be considering latex paints for the task and want to learn more before you start. Look no further, because with this blog post we’ll take the guesswork out of painting with latex so that you can confidently tackle any project! We’ll give an overview of what latex paining is, provide tips to help ensure success, and highlight latex paint’s numerous advantages over traditional oil-based paints. By breaking it down into simple steps, we’ll make sure that even beginner painters feel like pros when they finish their job. Let’s get started!
What is Latex Paint and How Does it Differ from Oil-Based Paint
Latex paint is a water-based, environmentally friendly type of paint that has become the go-to choice for many home improvement projects. It differs from traditional oil-based paints in several ways, including its composition, application process, and cleanup methods. Acrylic resins and pigments are the components that make up latex paint, giving it superior adhesion and durability on a variety of surfaces. It can be applied with either a brush or roller—or even sprayed through an airless sprayer—and cleaned up using just soap and water. In comparison to oil-based paints, latex doesn’t require additional solvents for cleanup or preparation; plus it dries much faster than oil-based paints do.
Preparing Your Space for Painting with Latex
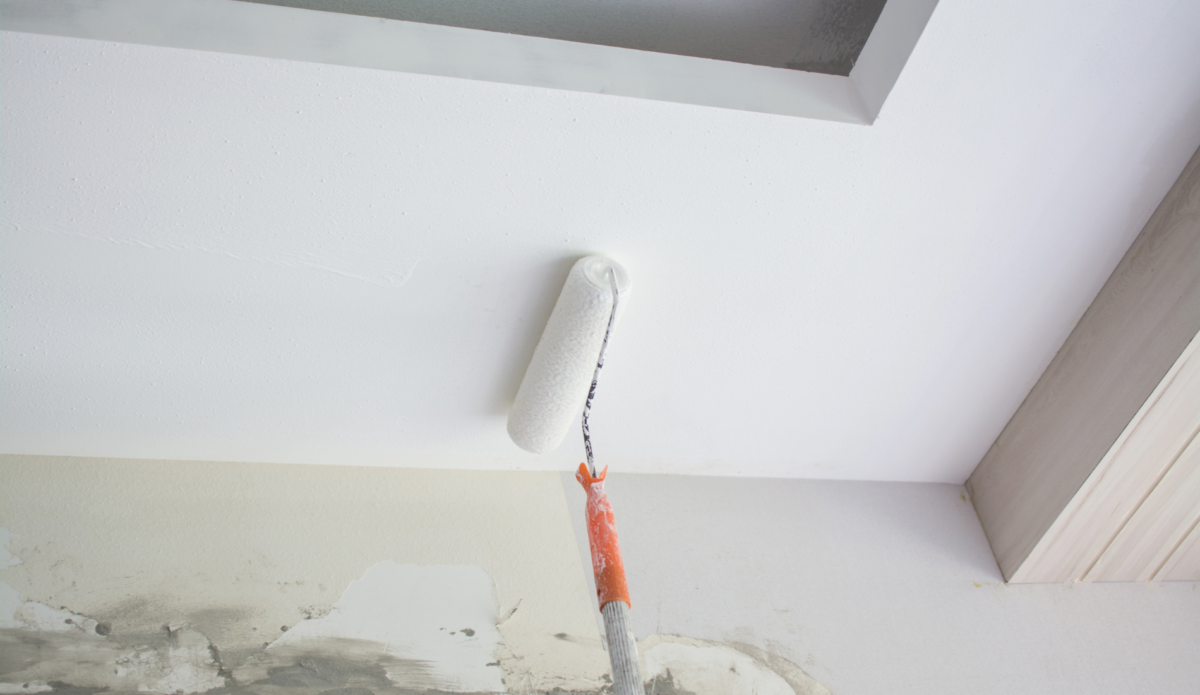
Preparing your space for painting with latex is an important step to ensure the success of any paint job. Proper preparation will help protect surfaces from damage, provide a smooth and even finish, and reduce the chances of problems like peeling or cracking down the line.
To get started, you’ll need to clear out furniture and other items in the area that could be affected by splatter or dripping paint. Then cover any remaining items with tarps or plastic sheets before taping off baseboards, windowsills, door frames, light fixtures, outlets—anything that should not be painted! Sanding rough spots on walls can also give you a better surface texture for applying latex paint. Finally, it’s always wise to do a primer coat prior to applying your actual paint color; this will give you better coverage when it comes time to apply multiple coats of paint. Following these steps will help ensure that your project turns out looking beautiful!
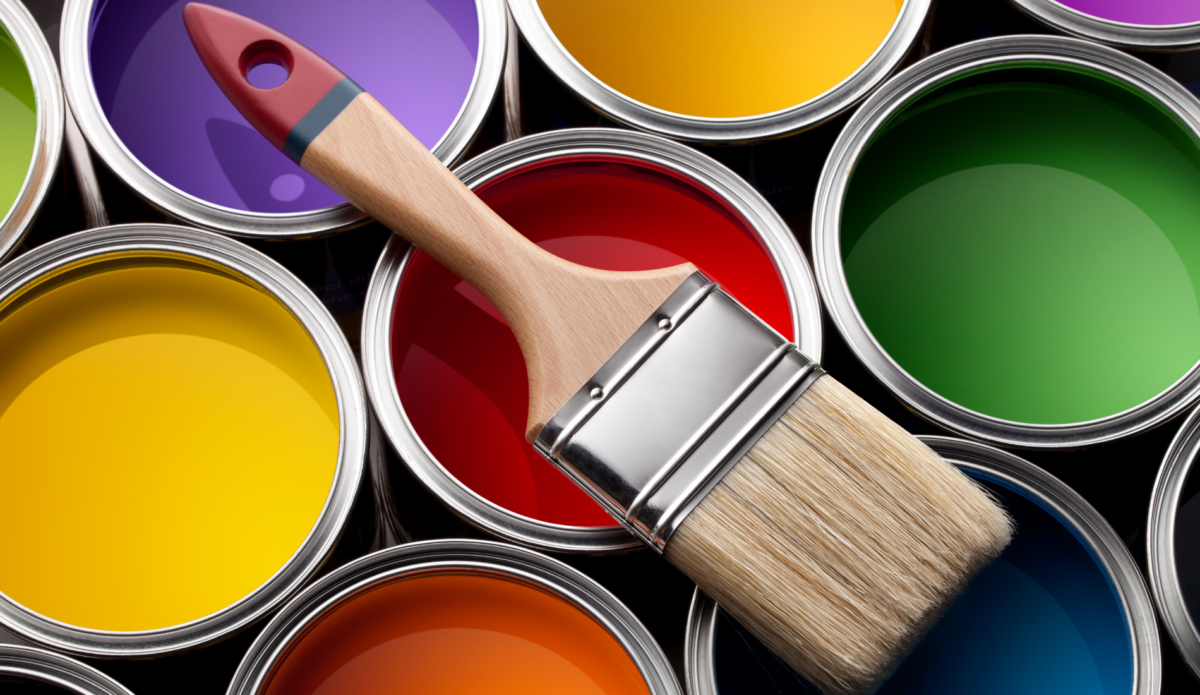
Choosing the Right Type of Latex Paint for Your Project
Flat or Matte:
Flat or matte latex paint finishes are a popular choice for interior walls and ceilings due to their low sheen and ability to hide imperfections. It is best to use this type of finish in areas that don’t require frequent cleaning, like bedrooms and living rooms, since it is more prone to dirt buildup than other types of finishes.
Flat or matte latex paint also provides a great base for applying additional layers of paint if desired, making it simple to customize the look of your space with different colors or textures. With its versatility and affordability, flat or matte latex paints offer an ideal solution for any home improvement project!
Eggshell:
Eggshell latex paint finishes are an excellent choice for both interior and exterior surfaces, offering a subtle sheen that provides a bit of extra protection from everyday wear and tear. This type of sheen has just enough gloss to make them easier to clean than flat or matte finishes, making them ideal for medium-traffic areas. They also provide good coverage without being too shiny—perfect if you’re looking for that ideal balance between elegance and practicality! You can use eggshell latex paints on walls as well as furniture pieces like cabinets or doors. They are also suitable for outdoor use on decks or siding to provide added durability. With so many uses and advantages to consider, eggshell painted surfaces will surely add value to any home improvement project!
Satin:
Satin finishes create a luxurious look in any room, making them the perfect choice for high-traffic areas like living rooms and hallways. Not only does it give off an elegant velvety finish, but its strong durability ensures that it can handle frequent scrubbing and cleaning agents – keeping your home looking pristine even with lots of foot traffic!
Semi-Gloss:
Semi-gloss latex paint is a type of paint finish that provides a smooth, lustrous look that’s also highly durable. Used primarily for interior and exterior trim surfaces, this glossier finish offers increased resistance to moisture and wear, making it ideal for kitchen walls, bathrooms, and other high-traffic areas. Semi-gloss latex paint is also best for surfaces that need frequent cleaning due to its greater resistance to smudges and fingerprints. Additionally, semi-gloss latex paints are easier to apply than many other types of paints because they provide even coverage with fewer coats—this makes them highly economical as well.
High-Gloss:
High-gloss latex paint is a type of finish that provides a glossy, reflective look and excellent durability. This type of paint is best used on surfaces that need to be washed often or in areas where you want a dramatic look. High-gloss latex paint is an ideal choice for interior trim, such as windowsills, doors and frames, cabinets, and other furniture items.
Expert Tips to Ensure Successful Application of Latex Paint
When it comes to applying latex paint, the key is to take the necessary steps in order to ensure a successful outcome. The first step is to prepare the surface you will be painting, such as using primer and sanding down any rough areas or ridges. Using a quality brush or roller specifically designed for use with latex paint will also help you achieve an even finish. Spraying is also another technique, however, it can be difficult to apply and is usually used by professionals.
Before beginning your project, make sure that you choose the right type of paint depending on what type of finish you would like – flat or matte for subtlety, eggshell for medium-traffic areas, satin for an elegant velvety feel, semi-gloss for easy cleaning and scrubbing resistance, and high-gloss for surfaces which need frequent washing. To achieve a flawless finish, it’s important to apply paint in even layers across the entire surface. This ensures that all areas are evenly covered for your desired results. Make sure to always read and follow the instructions on the back of the can carefully; this includes wearing safety gear (such as protective eyewear) when applicable.
After application is complete, be sure to clean all brushes and rollers with warm soapy water before storing them away properly – this will keep them in good condition for future use!
Finally, let your freshly painted area dry completely before putting it through any high-traffic activity or adding furniture back into place – doing so could affect how long your new paint job lasts!
Using Latex Over Oil-Based Paints
Advantages
• Latex paint is significantly easier to apply and clean up than oil-based paints. It is water-soluble, so simply washing your brushes and rollers with soap and water is enough to keep them in good condition for future use. This makes it an ideal choice for DIY projects and amateur painters who don’t want to deal with the hassle of having to buy special cleaning materials for their tools.
• Latex paints also create a smoother finish compared to oil-based paints, making them the preferred option when painting walls, ceilings, and trim work. This results in fewer brush marks or roller streaks that can mar the final look of the project. Additionally, latex paints dry much faster than their oil-based counterparts – usually within two hours – allowing you to move on with other tasks quicker without having to wait overnight for the surface to dry completely.
• Latex paint is also more flexible than oil-based paint due to its higher elasticity and ability to adhere better with substrates even when subjected to temperature changes or minor surface movements such as swelling or shrinkage caused by moisture. This makes it ideal for exterior surfaces like stucco and brick walls that are susceptible to expansion and contraction due to weather conditions.
• In addition, latex paints provide better resistance against dirt buildup, mildew growth, color fading from UV exposure, and chipping/peeling. They are also nonflammable which makes them a safer option around children or pets. Furthermore, latex paint does not have as many VOCs (Volatile Organic Compounds) as its oil-based counterpart which helps improve indoor air quality and reduce environmental impact over time.
Disadvantages
• Latex paint takes much longer to dry and cure compared to oil-based paints, resulting in a longer waiting period before you can put the area back into use.
• Latex paint is not as durable as oil-based paints when it comes to prolonged exposure to physical wear and tear, such as scuffing or scratching. In extreme cases, It may also become brittle over time due to UV light exposure or extreme temperatures, which can cause it to chip or peel away from surfaces.
• Although latex paint has lower VOCs than its oil-based counterpart, it still emits some fumes that can be hazardous if not properly ventilated during application.
Common Frequently Asked Questions
What types of surfaces can you apply latex paint?
You can use latex paint to paint a wide range of surfaces, such as walls, ceilings, trim, concrete, stucco, brick and wood. It adheres well to most substrates, and produces a smooth finish that is resistant to dirt buildup, mildew growth, and color fading from UV exposure
Is it possible to use latex paint outdoors?
Latex paint provides good resistance against dirt buildup, mildew growth and color fading from UV exposure, making it suitable for outdoor use. Additionally, its non-flammable qualities make it a safer option around children or pets. Its high elasticity allows it to adhere better with substrates even when subjected to temperature changes or minor surface movements caused by moisture. Furthermore, the use of latex paint outdoors helps reduce the amount of VOCs (Volatile Organic Compounds) released into the environment compared to oil-based paints.
How long does it take for a coat of latex paint to dry and cure?
Latex paint typically dries within two hours and fully cures in 2 to 4 weeks, depending on environmental conditions like humidity, air circulation, and temperature. Proper ventilation during painting can help speed up the drying process.
How many coats of latex paint should I use?
To achieve the best results, we recommend applying two coats of latex paint to a surface, waiting at least four hours between each coat. If you want better coverage or more intense color, wait for the second coat to dry completely before applying a third coat.
What type of cleaning materials do I need to use after painting with latex paints?
After painting with latex paints, it is important to use the right cleaning materials to ensure that the surface remains free of any residue or buildup. It is recommended to choose pH-neutral cleaning agents that are designed to be used on latex paint. This will help keep the color vibrant and protect against chipping and peeling. Additionally, opt for a non-abrasive cloth or sponge when wiping down the painted surface, as this will prevent any scratching or scuffing from occurring. Finally, avoid using too much water as this can negatively impact the integrity of the paint job.
Need A Professional Painter?
Looking to give your space a fresh new look? Look no further than COVA Painting! Our team of expert painters can help you achieve the perfect aesthetic for your next project. Whether you’re looking to add a pop of color or create a calming oasis, we’ve got you covered. With our top-notch service and attention to detail, you can sit back and relax while we transform your space into something truly special. So why wait? Contact COVA Painting today and let’s get started on your next painting adventure!