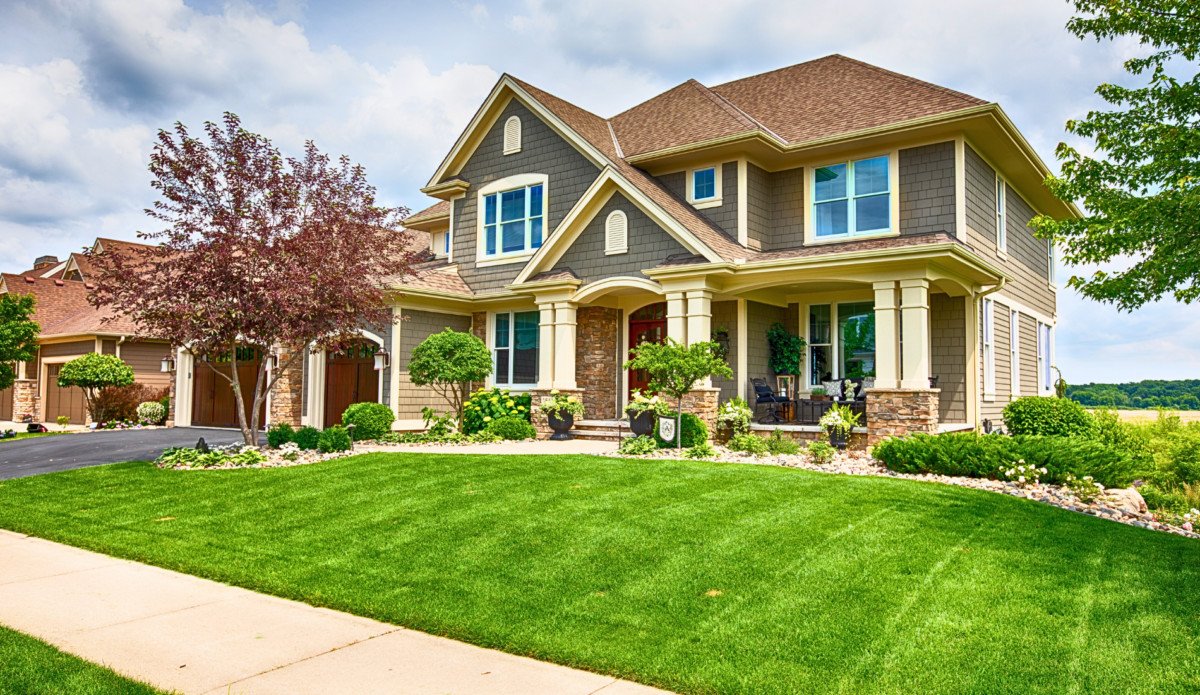
Ways to Boost Curb Appeal When Selling Your Home

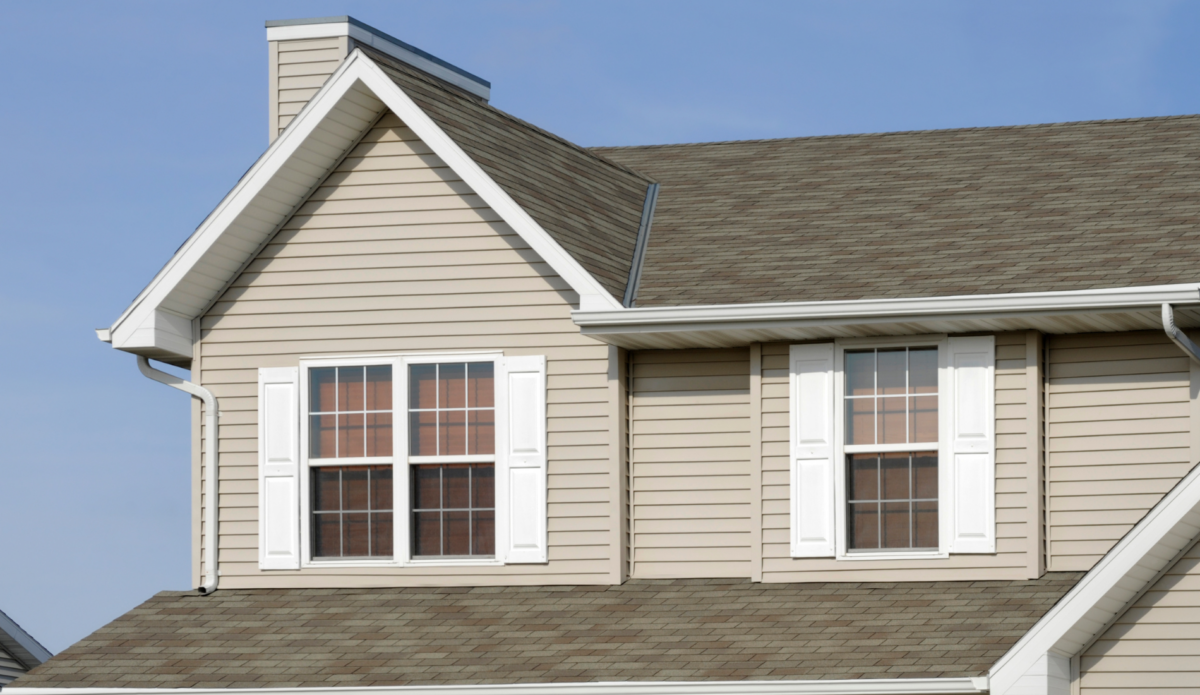
Enhance your home’s curb appeal with expert painting tips and maintenance advice. Learn about the role of real estate experts in selling your home effectively. Discover how hiring the Cova Team can help you in preparing your property for the market. So don’t wait, take advantage of these valuable insights today!

The Ultimate Guide to Painting Vinyl Shutters

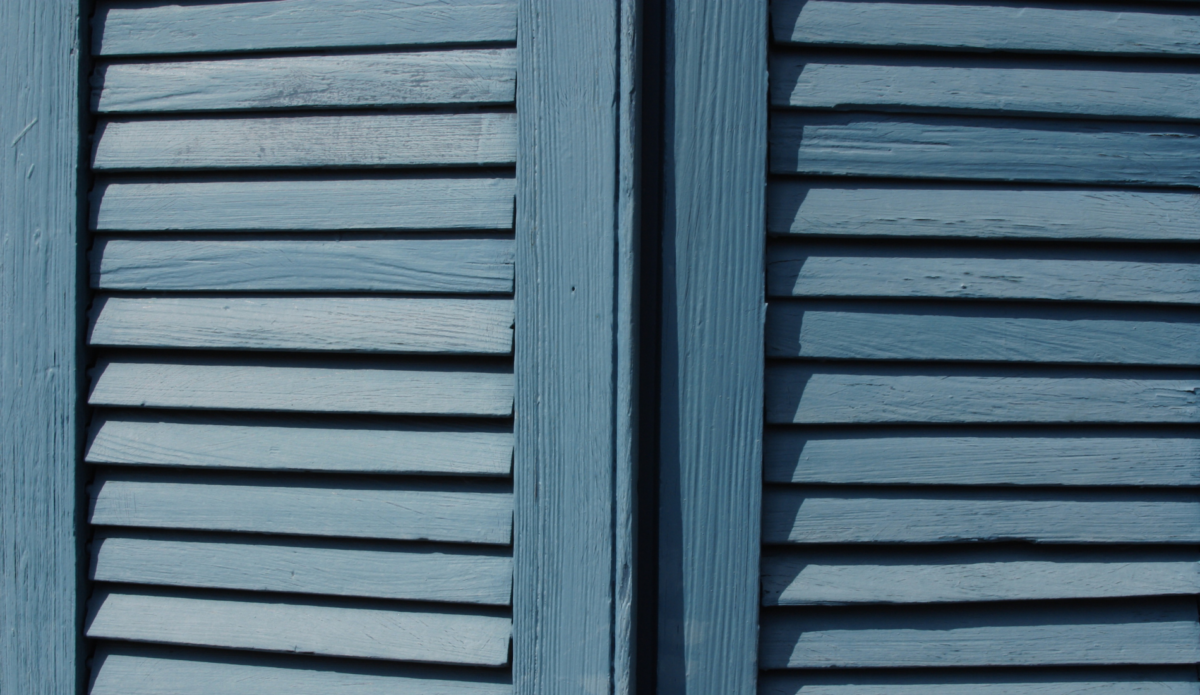
Transform your home’s exterior with a fresh coat of paint on your vinyl shutters. Our comprehensive guide covers everything from the benefits of vinyl shutters, like durability and low maintenance, to selecting the right paint for lasting color retention. Learn about suitable paint types, such as water-based, acrylic, and Sherwin-Williams VinylSafe®, and follow our step-by-step instructions for preparation, priming, and painting. Whether you’re tackling this as a DIY project or considering hiring professionals like Cova Painting, these expert tips will ensure a smooth, professional finish that enhances your home’s curb appeal.

How Painting A Rental Can Speed Up Leasing

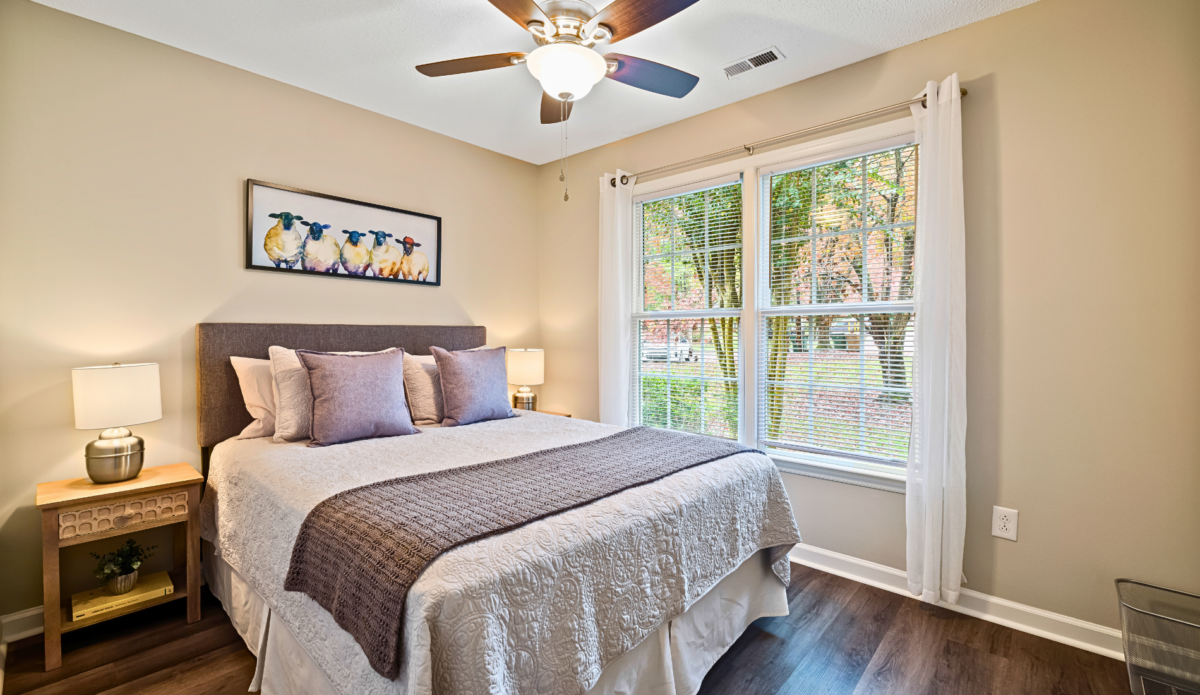
In the competitive rental property market, standing out is essential for property managers. One effective strategy is painting select rooms to enhance appeal and expedite leasing. Freshly painted spaces create a welcoming atmosphere, covering signs of wear and contributing to a clean, modern appearance. Choosing neutral colors is crucial for universal appeal, helping tenants visualize their belongings in the space. Painting is a cost-effective improvement, yielding a significant return on investment by boosting marketability and attracting prospective renters. Collaborating with experts like Live Oak Real Estate and Cova Painting ensures professional execution, making your property more enticing to tenants and reducing vacancy.

How To Paint Your Shutters

In this comprehensive guide on how to paint your shutters, you’ll find detailed instructions on rejuvenating your home’s exterior with a fresh coat of paint. From gathering the necessary materials to outlining each step of the preparation and painting process, the guide ensures you achieve a professional-looking finish. Tips on choosing the right paint, applying thin, even coats, and handling final touches are also included to help you avoid common pitfalls. Additionally, if you prefer a hands-off approach, consider hiring Cova Painting for a flawless, durable result. Their experienced team offers top-tier materials and expert craftsmanship, ensuring your shutters enhance your home’s curb appeal without any hassle. Whether you go DIY or professional, your shutters will look stunning and stand out in your neighborhood.

Interior Painting Tips: Transform Your Home with a Fresh Coat

Transforming your home with a fresh coat of paint can significantly enhance its aesthetic and ambiance. This guide walks you through practical steps for achieving a professional finish, starting with the importance of proper surface preparation, including cleaning, repairing imperfections, and sanding. It also emphasizes the selection of the right paint based on the room’s function and offers valuable tips for painting techniques. From using high-quality tools to applying painter’s tape for crisp edges, these strategies are designed to equip both DIY enthusiasts and novice painters with the knowledge needed for a successful project. If the task feels overwhelming, consider hiring the Cova team to ensure a smooth and professional process.

Why Fall is the Perfect Season for Home Painting

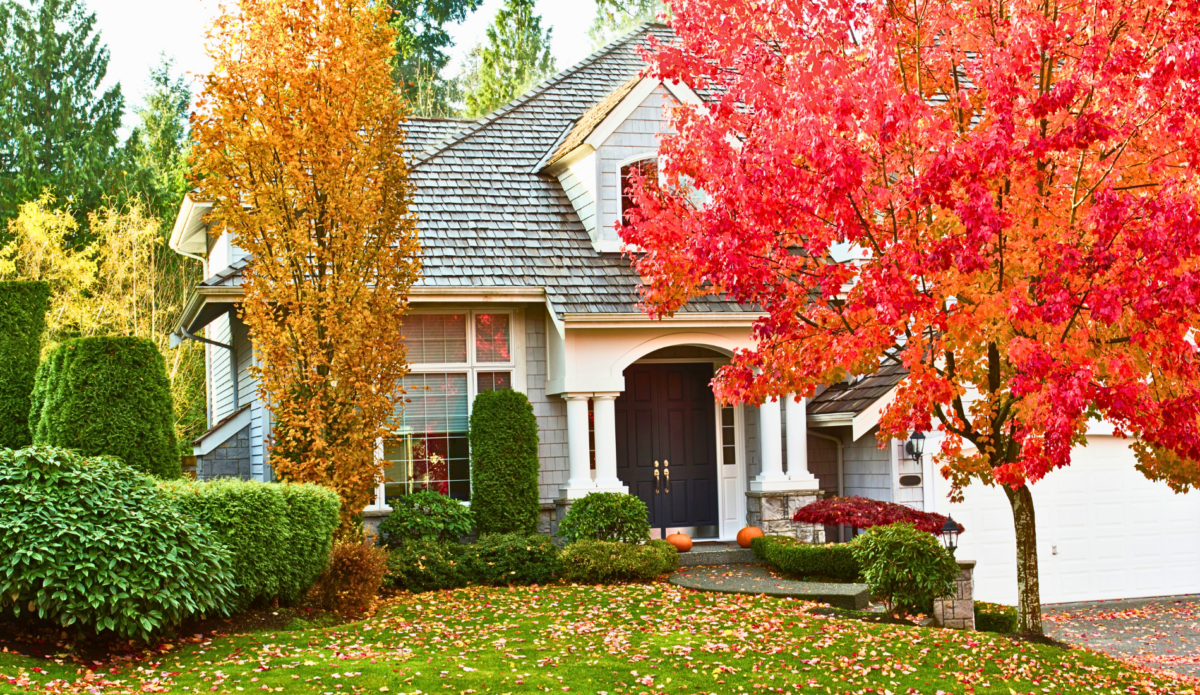
Fall is an ideal season for home painting, offering a range of benefits that contribute to a successful project. With optimal weather conditions, including moderate temperatures and reduced humidity, paint cures effectively, while fewer insects ensure a smooth application. The season also provides ample daylight hours for spotting imperfections and a drier environment—critical for achieving a long-lasting finish. By planning ahead, preparing your surfaces, selecting quality materials, and working efficiently, you can take full advantage of fall’s unique advantages. Whether you choose to DIY or hire professionals, painting your home this autumn can result in a beautiful transformation.

How To Paint Your Wood Trim

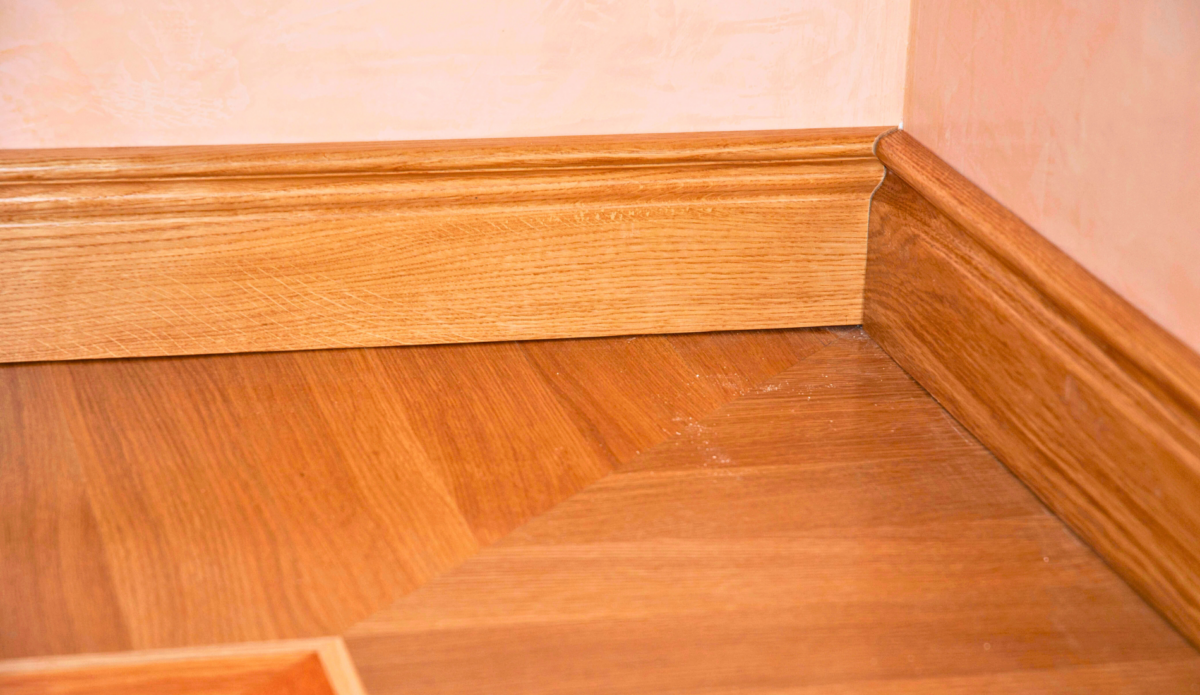
Wood trim can elevate the aesthetic appeal of any home, adding a touch of elegance and sophistication to the overall design. Maintaining your wood trim not only enhances the beauty of your living space but also increases your property value. If you’re thinking about giving your wood trim a fresh coat of paint, you’re in the right place. In this comprehensive guide, we’ll walk you through everything you need to know to achieve a professional and durable finish.

Why Well-Maintained Wood Trim Matters

Wood trim plays a crucial role in defining the character and style of your home. It frames your doors and windows, outlines your walls, and adds a finishing touch to your interior design. However, over time, wood trim can become worn, chipped, or discolored, detracting from your home’s overall appearance.

Maintaining your wood trim is essential for several reasons. First, it protects the wood from damage caused by moisture, insects, and everyday wear and tear. Second, a well-maintained trim enhances the visual appeal of your home, making it more inviting and stylish. Lastly, keeping your wood trim in top condition can increase the value of your property, making it a worthwhile investment.

Tools and Materials You’ll Need

Before you start painting your wood trim, gather all the necessary tools and materials to ensure a smooth and efficient process. Here’s a list of essentials:

  • Paint and Primer: Opt for eco-friendly and long-lasting paints. Sherwin-Williams offers excellent options like their Exterior Oil-Based Wood Primer and White Pigmented Shellac Primer.
  • Sandpaper: Various grits (80, 120, 220) for sanding the wood trim.
  • Cleaning Supplies: Mild detergent, water, and a sponge or cloth for cleaning the trim.
  • Painter’s Tape: To protect adjacent surfaces from paint splatters.
  • Drop Cloths: To cover floors and furniture.
  • Brushes and Rollers: High-quality brushes and rollers for a smooth application.
  • Caulk and Caulking Gun: For filling gaps and cracks in the trim.

Using the right tools and materials ensures that you achieve a professional finish that lasts for years.

Preparing Wood Trim for Painting

Preparation is key to a successful painting project. Follow these steps to prepare your wood trim for painting:

Cleaning the Trim

Start by cleaning the wood trim to remove any dirt, dust, or grease. Use a mild detergent mixed with water and a sponge or cloth to wipe down the trim. Rinse with clean water and allow it to dry completely.

Sanding the Surface

Sanding is essential for creating a smooth surface for the paint to adhere to. Begin with coarse-grit sandpaper (80 grit) to remove any old paint or rough spots. Follow up with medium-grit sandpaper (120 grit) to smooth out the surface further. Finally, use fine-grit sandpaper (220 grit) to achieve a polished finish.

Filling Gaps and Cracks

Inspect the trim for any gaps, cracks, or holes. Use caulk and a caulking gun to fill these imperfections. Smooth out the caulk with a damp finger or a caulk smoothing tool for a seamless finish. Allow the caulk to dry completely before proceeding.

Applying Primer and Paint

Priming the wood trim is crucial for achieving a durable and long-lasting finish. Here’s how to apply primer and paint:

Applying Primer

Choose a high-quality primer suitable for your project. The Oil-Based Wood Primer or Shellac Primer from Sherwin-Williams is an excellent choice for blocking stains and ensuring strong adhesion. Apply a thin, even coat of primer using a brush or roller. Allow the primer to dry according to the manufacturer’s instructions.

Note: White Pigmented Shellac Primer should only be used in the interior of your home.

Sanding Between Coats

Once the primer is dry, lightly sand the surface with fine-grit sandpaper (220 grit) to remove any imperfections and create a smooth base for the paint. Wipe away the sanding dust with a clean, damp cloth.

Painting the Trim

Select a high-quality paint that complements your home’s style. Use a brush or roller to apply the paint in thin, even coats. Start with the edges and corners, then move on to the larger, flat surfaces. Allow each coat to dry completely before applying the next. Two to three coats are typically sufficient for a professional finish.

Choosing the Right Paint Colors and Finishes

The right paint color and finish can make a significant difference in the overall look of your wood trim. Here are some tips for selecting the perfect colors and finishes:

Matching Your Home’s Style

Consider the overall style of your home when choosing paint colors. For a classic look, opt for neutral shades like white, beige, or gray. If you prefer a more contemporary style, bold colors like navy blue, charcoal, or black can make a striking statement.

Testing Paint Samples

Before committing to a color, test a few paint samples on your trim. Observe how the colors look under different lighting conditions and choose the one that best complements your home’s interior.

Selecting the Right Finish

The finish of your paint also plays a crucial role in the final appearance of your trim. Glossy finishes are durable and easy to clean, making them ideal for high-traffic areas. Satin finishes offer a smooth, subtle sheen that works well in most settings. Matte finishes provide a soft, elegant look but may require more maintenance.

Maintaining Your Painted Wood Trim

To keep your painted wood trim looking fresh and beautiful, follow these maintenance tips:

Regular Cleaning

Dust and clean your trim regularly to prevent dirt buildup. Use a soft cloth or a duster to remove dust, and wipe down the trim with a damp cloth and mild detergent as needed.

Touching Up Paint

Inspect your trim periodically for any signs of wear or damage. Touch up any chipped or peeling paint with a small brush to maintain a flawless finish.

Preventing Damage

Take precautions to prevent damage to your trim. Avoid using harsh cleaning chemicals, and be mindful of furniture placement to prevent scratches and dents.

Final Thoughts

Painting your wood trim can transform the look of your home, adding elegance and value. By following the steps outlined in this guide, you can achieve a professional, durable finish that enhances your living space.

Hiring the Cova Team

We specialize in transforming and painting wood trim with precision and expertise. We provide expert consultations, meticulous preparation, and use premium materials to guarantee exceptional results. Our skilled painters deliver seamless finishes, and they provide maintenance guidance to keep your trim looking fresh. Personalized service ensures your vision is met and exceeded. Contact Cova for a professional transformation of your wood trim.

Is Painting in Hot Weather a Good Idea for Your House?

Painting your house is one of the most impactful ways to maintain and enhance its appearance. A fresh coat of paint not only adds curb appeal but also protects your home from the elements. However, deciding when to paint can be tricky, especially when it comes to painting in hot weather. This guide will help you understand the challenges of painting during the summer and provide practical advice on how to achieve the best results.

The Challenge of Painting in Hot Weather

Painting your house during the summer might seem like a great idea, but the heat can pose several challenges. High temperatures can affect the painting process and the final result. To make an informed decision, it’s important to understand how heat impacts paint and what you can do to minimize any negative effects.

Effects of Heat on Paint

Temperature and the Painting Process

Heat can significantly influence the painting process. When the temperature rises, the paint can dry too quickly, leading to a less-than-perfect finish. Fast-drying paint can make it difficult to achieve a smooth, even coat, and may result in visible brush or roller marks.

Common Issues Caused by Painting in High Heat

Painting in high heat can lead to several problems, including blistering, peeling, and cracking. These issues occur because the paint dries unevenly, causing the surface to become brittle. Additionally, high temperatures can cause the paint to lose its adhesion, resulting in a shorter lifespan for your paint job.

Tips for Minimizing Heat-Related Problems

To minimize heat-related problems, consider painting during the cooler parts of the day, such as early morning or late afternoon. Use high-quality paint specifically designed for exterior use in hot climates. Keep your painting tools and surfaces cool by storing them in the shade and spraying them with water periodically.

Best Practices for Painting in Hot Weather

Ideal Times for Painting During Summer

The best time to paint your house during the summer is when temperatures are between 50°F and 85°F. Early mornings and late afternoons are ideal because the sun is not as intense, and the temperatures are cooler. Avoid painting during peak sun hours, typically between 10 AM and 4 PM.

Preparing the Surface and Tools for Hot Weather Painting

Proper preparation is crucial for a successful paint job, especially in hot weather. Clean the surface thoroughly to remove dirt, mildew, and loose paint. Sand and prime the surface as needed, ensuring it is smooth and ready for paint. Keep your painting tools in the shade, and use extension poles to avoid direct contact with hot surfaces.

Recommended Types of Paint for High Temperatures

When painting in hot weather, choose high-quality, heat-resistant paint. Acrylic latex paints are an excellent option because they are durable and flexible, making them less likely to crack or peel. Brands like Sherwin-Williams and Benjamin Moore offer paints specifically formulated for exterior use in hot climates, providing better adhesion and longer-lasting results.

Safety Considerations

Health and Safety Risks Associated with Painting in Extreme Heat

Painting in extreme heat can pose health risks, including heat exhaustion, dehydration, and heatstroke. These conditions can be dangerous and require immediate attention. It’s essential to recognize the symptoms and take preventive measures to stay safe.

Protective Measures for Both Painters and the House

To protect yourself while painting in hot weather, wear lightweight, breathable clothing, and a wide-brimmed hat. Drink plenty of water to stay hydrated and take frequent breaks in the shade. Use sunscreen to protect your skin from harmful UV rays. Additionally, protect your house by covering windows and doors with plastic sheeting to prevent paint splatters and damage.

Case Studies and Expert Opinions

Real-Life Examples of Successful Hot-Weather Painting Projects

Many homeowners have successfully painted their houses during the summer by following best practices and using the right materials. For example, a homeowner in Arizona painted their house in 110°F weather by starting early in the morning, using heat-resistant paint, and taking frequent breaks to stay cool.

Insights from Professional Painters and Home Improvement Experts

Professional painters and home improvement experts agree that painting in hot weather requires extra care and attention. They recommend using high-quality, heat-resistant paint, and following the manufacturer’s guidelines for application. Experts also emphasize the importance of proper surface preparation and choosing the right time of day to paint.

Final Thoughts

Painting your house in the heat can be challenging, but with the right knowledge and preparation, you can achieve excellent results. Remember to choose the right time of day, use high-quality paint, and take necessary safety precautions. By following these tips, you can enjoy a beautiful, long-lasting paint job that enhances your home’s curb appeal and protects it from the elements.

Why You Should Hire Cova Painting

Hiring Cova Painting for your summer project ensures that you receive professional, high-quality service tailored to the unique challenges of painting in hot weather. Our experienced team understands the effects of high temperatures on paint and employs best practices to deliver a smooth, durable finish. We use top-of-the-line, heat-resistant paints and materials, ensuring that your home not only looks beautiful but also enjoys long-lasting protection. Additionally, our commitment to safety means we take every precaution to protect both our team and your property. Trust Cova Painting to transform your home with expert precision and care, even in the summer heat. Reach out for a free consultation today.

The Dos and Don’ts of Patio Painting

Is your patio in need of a refresh? At Cova, we specialize in enhancing outdoor spaces with our expert patio painting services. Whether you’re looking to add a pop of color, incorporate intricate patterns, or just give your patio a fresh, clean look, we’ve got you covered.

2024’s Hottest Hardie Shingle Colors

Choosing the Right Colors for Hardie Shingles

When it comes to home design, details matter. One of the most impactful decisions homeowners and designers can make is selecting the right color for Hardie Shingle siding. Not only does the color of your shingles contribute to the overall aesthetics of your home, but it also plays a crucial role in enhancing curb appeal and even boosting property value. Staying ahead of color trends can help you create a timeless yet contemporary look that stands out in the neighborhood.

Top Trending Colors for Hardie Shingle Painting

As trends evolve, certain colors emerge as front runners for the year. For 2024, the following hues are making significant waves in the home design sphere:

1. Navy Blue

Deep and sophisticated, navy blue remains a favorite for its classic appeal and versatility. It pairs well with both modern and traditional architectural styles.

2. Sage Green

Sage green offers a serene and natural look, resonating with the growing trend towards eco-friendly and sustainable living.

3. Warm Gray

Warm gray is the perfect neutral that complements a variety of other colors and materials, adding depth and elegance to your home’s exterior.

4. Crisp White

A timeless choice, crisp white hardie shingles provide a clean, fresh appearance and can make smaller homes appear more spacious.

5. Charcoal Black

For a bold, dramatic effect, charcoal black shingles add an element of sophistication and modernity.

6. Terracotta

Inspired by traditional Mediterranean homes, terracotta offers a warm, inviting feel that’s perfect for creating a cozy exterior.

Tips for Selecting Colors to Match Home Aesthetics

Choosing the right color for your Hardie Shingles involves more than just following trends. Here are some tips to ensure your selection enhances your home’s overall aesthetics and architectural style:

Consider Your Home’s Architecture

  • Colonial and Cape Cod Styles: These styles often look best with classic colors like navy blue, crisp white, or warm gray.
  • Modern Homes: Bold choices like charcoal black or navy blue can make a statement.
  • Ranch and Craftsman Styles: Earth tones such as sage green and terracotta are ideal for these home styles.

Factor in the Surrounding Environment

  • Natural Surroundings: If your home is surrounded by lush greenery, consider colors like sage green or warm gray to blend seamlessly with nature.
  • Urban Settings: In a more urban setting, bolder colors like charcoal black or navy blue can help your home stand out.

Test Before Committing

  • Sample First: Always paint small sections first to see how the color looks in different lighting conditions and times of day.
  • Digital Tools: Utilize online color visualizers to get a sense of how different colors will look on your home before making a final decision.

DIY vs. Professional Painting Services

Deciding whether to tackle shingle painting yourself or hire a professional can be challenging. Here’s a breakdown to help you make the best choice:

DIY Painting

  • Pros:
  • Cost Savings: Doing it yourself can save money on labor costs.
  • Personal Satisfaction: There’s a sense of accomplishment in completing the project yourself.
  • Cons:
  • Time-Consuming: Preparing and painting shingles can be a labor-intensive process.
  • Skill Level: Achieving a professional finish requires skill and experience.

Professional Painting Services

  • Pros:
  • Quality Finish: Professionals have the tools and expertise to ensure a flawless finish.
  • Efficiency: A professional team can complete the job more quickly.
  • Warranty: Many professional services offer warranties on their work, providing peace of mind.
  • Cons:
  • Cost: Hiring professionals is more expensive than a DIY approach.

Conclusion

Choosing the right hardie shingle color not only enhances your home’s curb appeal but also significantly impacts its market value. Trendy yet timeless colors like navy blue, sage green, warm gray, and others can make your home more attractive to potential buyers and ensure it stands out in the market. Whether you opt for a DIY approach or hire professionals, investing in high-quality Hardie Shingles and carefully selecting the perfect color will pay dividends in the long run.

Hiring the Cova Team for Your Painting Needs

At Cova, we understand the importance of selecting the right colors for your home. With years of experience and a team of skilled professionals, we are committed to providing top-quality painting services that will bring your vision to life. Contact us today to learn more about our services and how we can help you create a beautiful and durable exterior for your home.

We’d love to see how you’ve transformed your home with Hardie Shingles! Share your before and after photos with us on social media and tag #covapainting. Let’s inspire others with the beautiful possibilities of 2024’s hottest shingle colors!