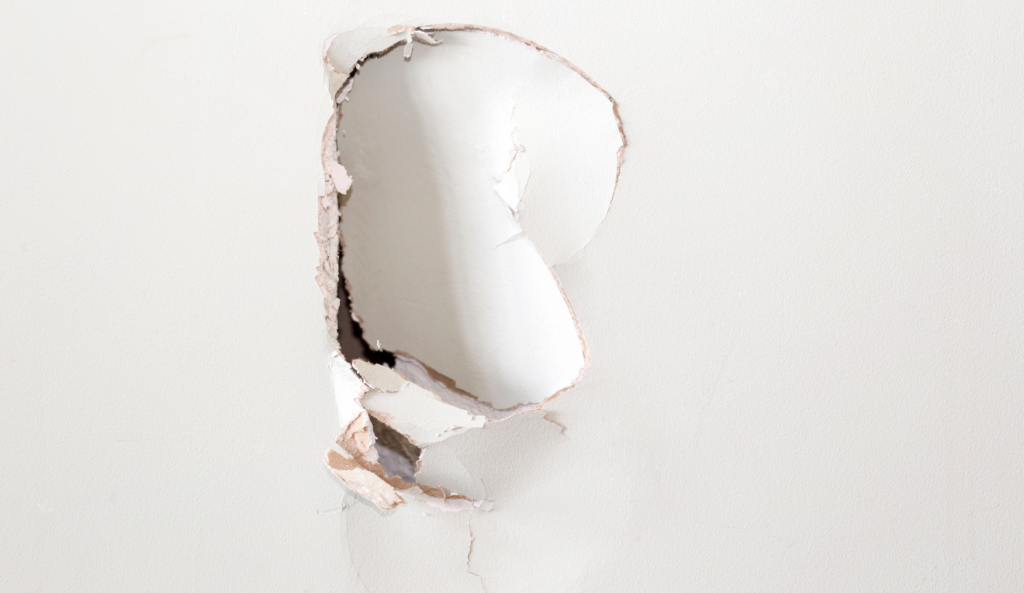
As a homeowner, do-it-yourself projects are inevitable. From minor repairs to major renovations, it’s essential to have some basic knowledge and skills for maintaining and improving your home. However, some tasks can seem daunting, like patching large holes in drywall. Whether caused by an accident or through DIY gone wrong, every homeowner will face this issue at some point. The good news is that with the right tools and techniques, you can easily tackle this task without breaking a sweat or your bank account. In this blog post, we’ll guide you on how to patch large holes in drywall like a pro so that you can save both time and money while keeping your walls looking flawless.
Materials and Tools Required
Before we dive into the process, let’s first gather all the necessary materials and tools. For patching large holes in drywall, you’ll need:
- Drywall mesh or joint tape
- Scrap drywall pieces
- Utility knife
- Sandpaper
- Joint compound
- Putty knife
- Primer
- Paint
- Paintbrush or roller
Step 1: Prepare the Area
The first step is to prepare the area around the hole. Use a utility knife to cut out any loose drywall pieces, creating a clean edge around the hole. This will make it easier for the patching material to adhere and blend seamlessly with the surrounding wall. If there are any exposed nails or screws, use a hammer to flatten them.
Step 2: Cut a Patch
Next, cut a patch from the scrap drywall pieces that are slightly larger than the hole. You can use a utility knife or a drywall saw for this task. Make sure the patch fits snugly into the hole without any gaps. If needed, trim it down until it fits perfectly.
Step 3: Secure the Patch
Place the patch over the hole and use a drywall screw to secure it in place. Make sure to drive the screw just below the surface of the drywall without breaking through it. Alternatively, you can also apply a small amount of construction adhesive around the edges of the patch for added strength.
Step 4: Reinforce with Mesh or Tape
To further strengthen the patch, cover it with drywall mesh or joint tape. This will prevent cracks from forming in the future. Cut a piece of mesh or tape that’s slightly larger than the patch and apply it over the hole, pressing down firmly to ensure it sticks to the wall.
Step 5: Apply Joint Compound
Now, it’s time to apply joint compound over the patch. Use a putty knife to spread a thin layer of joint compound over the mesh or tape, covering it completely. Make sure to feather out the edges for a smooth finish. Let it dry according to the manufacturer’s instructions.
Step 6: Sand and Repeat
Once the first layer of joint compound has dried, use sandpaper to smooth out any imperfections. Apply a second layer of joint compound, feathering it out once again. Repeat this process until the patch is level with the surrounding wall.
Step 7: Prime and Paint
After the final layer of joint compound has dried, lightly sand the area once again for a smooth finish. Then, prime the patched area with a good quality primer. Once the primer has dried, you can paint over it to match the rest of your wall. Use a paintbrush or roller for an even application.
Tips and Tricks
- For larger holes, you may need to create a support structure using wooden boards before patching.
- Use a drywall saw to cut out the hole in a rectangular shape for easier patching.
- Take your time and be patient. Rushing the process can result in an uneven or bumpy finish.
- Use a damp cloth to wipe away any excess joint compound before it dries to avoid having to sand it down later.
How to Patch Holes Larger Than 6 Inches?
When dealing with larger holes in drywall, approximately one square foot in size, typical patch kits may not be adequate due to the size of the damage. In such cases, a new piece of drywall, appropriately measured and cut, is required to fill the hole. This newly cut drywall is frequently supported by thin wooden strips known as furring strips, which are placed within the wall on both sides of the hole. Once the new drywall is installed, it’s necessary to tape the patch, apply a layer of drywall compound, and let it dry. After it has dried, the repaired area can be sanded smooth and painted over to match the rest of the wall.
Follow the Steps Below for a Seamless Process
- When dealing with larger holes, typical patch kits may not suffice due to the extent of the damage.
- Holes approximately one square foot in size are considered larger holes.
- These larger holes require a different approach for effective patching.
- A new piece of drywall, measured and cut to fit the hole, is necessary in these cases.
- To support the new drywall, furring strips or thin wooden strips are used.
- These strips are placed within the wall on the sides of the hole.
- After installation of the drywall, tape is applied to the patch.
- A layer of drywall compound is then applied over the taped patch.
- Once the compound dries, the repaired area can be sanded smooth.
- The final step is painting over the patch to match the rest of the wall.
FAQS
Q: How big of a hole is too big to patch drywall?
A: It’s best to consult a professional for holes larger than 6 inches in diameter.
Q: How long does it take for joint compound to dry?
A: It typically takes 24 hours for joint compound to dry, but this can vary depending on the temperature and humidity level in the room.
Q: Can I use spackling paste instead of joint compound?
A: While spackle can be used for small repairs, joint compound is better suited for large holes as it’s easier to work with and provides a stronger hold.
Q: Do I need to prime the patched area before painting?
A: Yes, priming is essential for ensuring an even and long-lasting paint finish.
Final Thoughts
Patching holes small or larger in drywall may seem like a daunting task, but with the right tools and techniques, anyone can do it. By following these steps and using our tips and tricks, you can save time and money while keeping your walls looking flawless. Remember to take your time and be patient for the best results. Happy patching!
Hiring the Cova Team for Patching Holes
If you’re not comfortable tackling large drywall repairs on your own, don’t worry! The Cova Team offers professional drywall repair services to homeowners throughout the area. Our team of experts has years of experience and can handle any drywall issue with ease. Contact us today for more information or to schedule a consultation. We’ll have your walls looking as good as new in no time! So, don’t hesitate to reach out for help if needed.
Additional Tips
- It’s always a good idea to have extra drywall mesh or joint tape on hand in case of any future repairs.
- If using joint compound for the first time, practice on a scrap piece of drywall to get the hang of feathering and smoothing it out.
- To prevent joint compound from drying out, always keep the lid tightly sealed when not in use.
- Consider wearing safety goggles and a dust mask while sanding to protect yourself from any debris. # Extra Resources
References
- The Spruce: Repair a Larger Hole in Drywall
- Better Home & Garden: How to Patch Holes in Drywall


