How to Paint a Popcorn Ceiling
Are you tired of staring at those dated popcorn ceilings in your home but dread the thought of tackling this messy project? You’re not alone. Many homeowners find popcorn ceiling removal and painting to be a daunting task, leading them to put it off for years. However, with the right tools, techniques, and some insider tips, you can easily transform your popcorn ceiling into a smooth and modern surface that will make your whole room feel fresh and updated. In this blog post, we’ll guide you through the process of painting a popcorn ceiling without creating a huge mess or breaking the bank. Whether you’re a DIY enthusiast or simply looking for ways to save money on home renovations, this is a must-read for anyone wanting to give their home an affordable facelift. So let’s roll up our sleeves and get ready to tackle those tough-to-paint surfaces!
Challenges of Painting Popcorn Ceilings
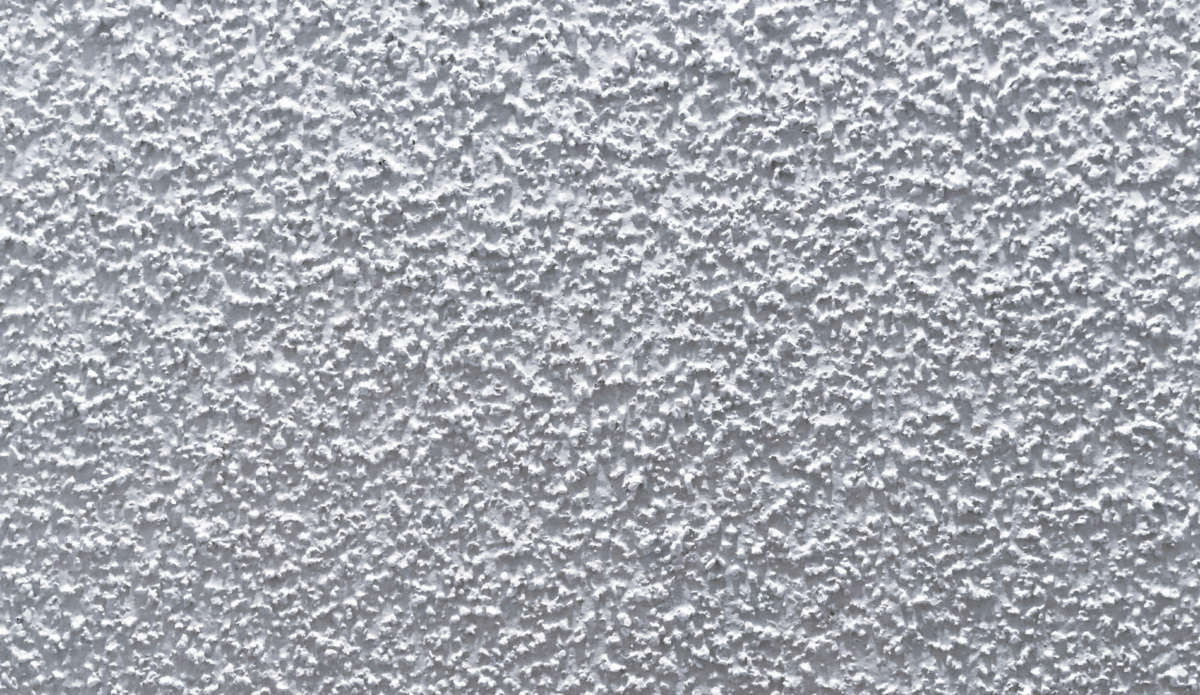
Painting this type of ceiling can present several challenges that require attention and skillful execution to overcome. Popcorn ceilings are textured surfaces that can make it difficult to apply paint evenly. Furthermore, the rough and porous nature of the popcorn texture can cause paint to splatter and leave unsightly streaks if not properly managed. An additional hurdle is avoiding damage to the ceiling texture during the painting process, which could be time-consuming and costly to restore. Despite these challenges, with the right knowledge and tools, painting a popcorn ceiling can be a successful project that rejuvenates the room’s appearance.
Paint, Cover, or Remove Popcorn Ceiling?
Before jumping into the painting process, it’s essential to evaluate whether your popcorn ceiling needs a fresh coat of paint or if it’s time for a complete makeover. In some cases, a thorough cleaning and spot touch-up may be enough to restore the ceiling’s appearance and extend its lifespan. However, if your popcorn ceiling has yellowed or suffered water damage, painting may not be enough. In these situations, covering the ceiling with drywall or removing it altogether may be a better long-term solution.
Preparing for the Painting Process
Once you’ve decided to paint your popcorn ceiling, there are a few essential steps to take before diving into the project. First and foremost, make sure to cover and protect any furniture, flooring, and fixtures in the room. Use drop cloths or plastic sheets to cover large items, and remove any smaller decorations or objects from the room. Next, gather all your necessary supplies, including paint, primer, brushes, rollers, and a ladder. It’s crucial to use the right type of paint for textured ceilings – typically flat or matte finishes are best as they help to hide imperfections. Lastly, don’t forget to wear protective gear such as goggles, a face mask, and gloves to avoid any potential paint splatter or fumes.
Pros
- Aesthetic Improvement: Painting can refresh and modernize the look of your popcorn ceiling, instantly upgrading your room’s appearance.
- Cost-Effective: Painting is cheaper than removing the popcorn ceiling or covering it with drywall, making it a budget-friendly option.
- Stain Concealment: Fresh paint can cover minor stains or discoloration on the popcorn ceiling.
- Quick Solution: Painting is less time-consuming than removal or installing drywall.
Cons
- Texture Preservation: The popcorn texture might get damaged during the painting process if not handled properly.
- Uneven Coverage: Due to the ceiling’s rough nature, achieving a uniform coat of paint can be challenging.
- Longevity: Painting does not address any underlying issues with the popcorn ceiling, so it may not be a long-term solution.
- Health Risks: Older popcorn ceilings may have asbestos. Disturbing the ceiling with paint might release this harmful substance. It’s crucial to get your ceiling tested before starting the painting process.
Tips for Painting a Popcorn Ceiling
1. Clean the Ceiling Thoroughly
Before painting, make sure to clean your popcorn ceiling thoroughly. Use a vacuum cleaner with a brush attachment to remove any dirt or dust that may have accumulated on the ceiling over time. Any debris left behind can affect paint adhesion and result in an uneven finish.
2. Prime the Ceiling
Using a primer specifically designed for textured ceilings can help achieve a smoother and more even paint finish. Priming also helps to seal any small cracks or stains, ensuring they don’t show through the paint.
3. Use a High-Quality Paint
Investing in high-quality paint is crucial when painting a popcorn ceiling. Quality paint will provide better coverage, hide imperfections, and adhere well to the ceiling texture. It’s worth spending a little more upfront for better results in the long run.
4. Work in Small Sections
To avoid creating a mess and ensure an even coat of paint, work on one small section at a time. Use a brush to cut-in around the edges of the section and then use a roller to cover the rest of the area. Repeat this process until you have painted the entire ceiling.
5. Keep Paint Thickness Consistent
Maintaining a consistent paint thickness is key to achieving an even finish on your popcorn ceiling. Avoid overloading your brush or roller with too much paint, as this can result in drips and splatters. Instead, work in thin, even layers and add more paint as needed.
Covering Your Popcorn Ceiling
If you don’t want to go through the hassle of painting a popcorn ceiling, there are other options for covering it up. One popular option is installing new drywall over the existing ceiling texture. This method can provide a fresh, smooth surface that’s easier to paint or decorate. Another effective method to deal with an outdated popcorn ceiling is to apply a layer of plaster over it. This method involves skimming a thin layer of plaster onto the popcorn ceiling to create a smooth and modern look.
Pros
- Modern Appearance: Covering the popcorn ceiling with drywall or plaster gives your room a modern, updated look.
- Smooth Surface: It provides a smooth surface that’s easier to paint and decorate, allowing for more design flexibility.
- Asbestos Containment: If the popcorn ceiling contains asbestos, covering it can help to contain the potentially harmful substance without the need for expensive removal.
- Soundproofing: Additional layers like drywall can offer some level of sound insulation, improving the acoustics of the room.
Cons
- Higher Costs: Covering the popcorn ceiling involves more materials and labor than painting, making it a more expensive option.
- Lower Ceiling Height: Installing drywall or plaster over the popcorn ceiling can slightly lower the ceiling height, which may be a concern in rooms with low ceilings to start with.
- Messy Process: The process of covering a popcorn ceiling can be messy and disruptive, requiring significant cleanup afterwards.
- Complexity: It’s a more complex process than painting and may require professional help, adding to the cost and time.
Removing Your Popcorn From Your Ceiling
Removing a popcorn ceiling is the most permanent and expensive option. The process involves scraping off the texture, repairing any damage to the ceiling, and refinishing it with a smooth surface. It’s best to consult a professional for this type of project as it can be time-consuming and requires specific skills and tools.
Pros
- Clean, Modern Look: Removing the popcorn ceiling and refinishing it with a smooth surface provides a clean and modern look to your room.
- Increased Property Value: A smooth ceiling is more appealing to potential buyers and can increase the value of your home.
Cons
- Expensive: Removing a popcorn ceiling requires professional help and can be costly depending on the size of the room and the condition of the ceiling.
- Messy Process: Removing a popcorn ceiling is a messy process that can result in dust and debris throughout your home. Proper precautions must be taken to contain the mess and minimize cleanup.
- Potential for Damage: The scraping process can damage the underlying drywall, leading to additional repairs or replacement costs.
Safety Considerations
Whether you decide to paint, cover, or remove your popcorn ceiling, there are some safety considerations to keep in mind.
Asbestos Testing
As mentioned earlier, it’s crucial to get your popcorn ceiling tested for asbestos before attempting any DIY removal or painting. Disturbing an asbestos-containing ceiling can release harmful fibers into the air and pose a risk to your health and the health of those around you. Professional asbestos testing is recommended to ensure proper handling and disposal if necessary.
Protective Gear
When removing a popcorn ceiling or working with paint, it’s important to wear protective gear such as safety glasses, gloves, and a dust mask. These precautions can help protect you from any potential hazards like falling debris or harmful chemicals.
Ladder Safety
When working on a ceiling, it’s essential to use a stable and sturdy ladder. Follow ladder safety guidelines and have someone spot you while you work to ensure your safety.
Final Thoughts
Deciding to paint, cover, or remove your popcorn ceiling ultimately depends on your budget, time constraints, and personal preferences. If you’re unsure which method is best for your home, consult a professional for advice. Regardless of the method chosen, with proper preparation and care, any outdated popcorn ceiling can be transformed into a modern and stylish statement in your home. So go ahead and give your ceilings a fresh look!
Hire The Cova Team for Your Next Project
We specialize in popcorn ceiling removal and can help you achieve the look you want for your home. With our team of experienced professionals, we guarantee a hassle-free and high-quality service to transform your ceilings. Contact us today for a consultation and let us take care of your popcorn ceiling needs!