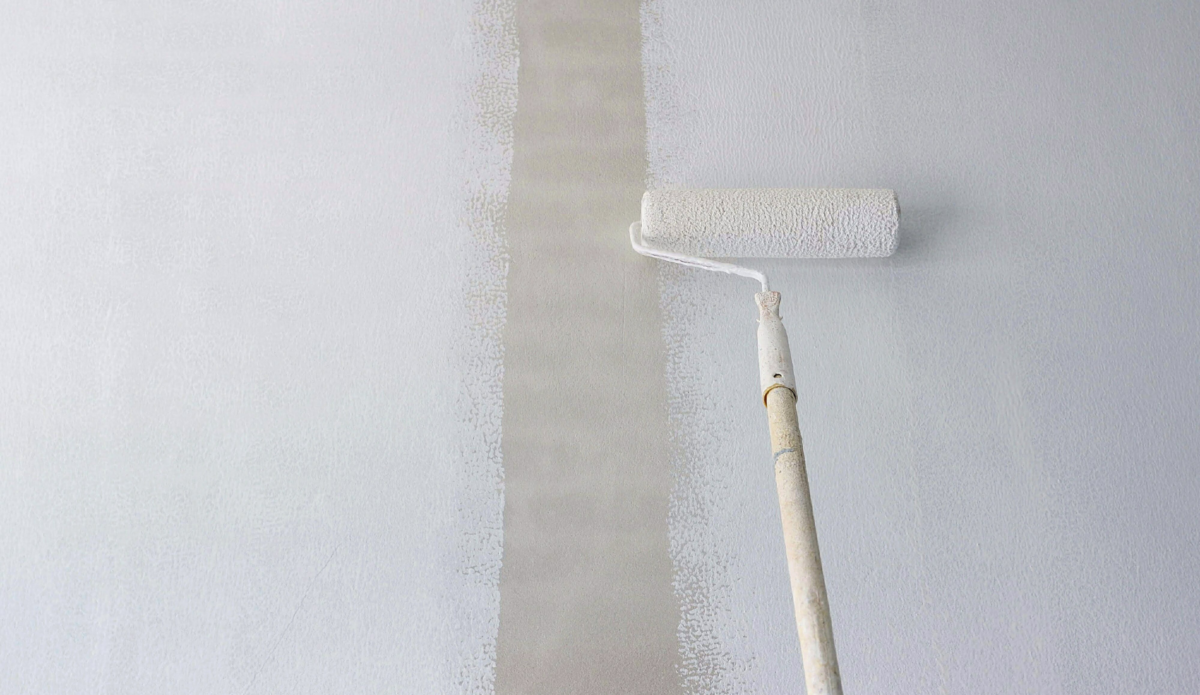
Understanding the Benefits of Primers
Are you planning to start a painting project? If so, then it’s important to understand the benefits of using primers. In this article, we will go over the advantages and reasons why you should use primer for your painting projects.
Why Use Primer?
Primers can be particularly beneficial when it comes to sealing pores in unpainted surfaces like drywall and wood, as they form a protective layer that can prevent the surface from absorbing moisture and ultimately help preserve any paint job. Primers also help to fill in any microscopic imperfections on the surface, allowing for a smoother finish once the painting is complete. Furthermore, they can reduce the amount of time spent on any given project due to their ability to cover up stains or blemishes quickly and easily. Research shows that using primers on surfaces before painting increases paint adhesion by up to 75%, meaning less time needs to be spent on any given project due to their ability to cover up stains or blemishes quickly and easily. In short, primers offer many advantages in home improvement projects and should be used whenever possible!
Different Types of Primers And Their Uses
- Oil-based primers – best for providing a protective barrier against stains and moisture while also filling in gaps between surfaces, resulting in a smoother and more even finish when painting.
- Shellac-based primers – are used to provide a protective layer that can block out smoke, water, and odor stains while also filling in any microscopic cracks or imperfections on the surface. Additionally, these primers are best for paint adhesion.
- Latex-based primers – are the most popular option for interior painting projects for its quick drying time, low odor, and easy clean up with soap and water.
Best Practices When Painting With Primer
Preparing the Surface Before Painting is Essential for Quality Results
Before painting any surface, it is essential to properly prepare the area. Proper preparation helps ensure that the paint job looks its best and will last for years. Here are some steps to follow when preparing a surface before painting:
- Clean the surface – Cleaning should be done with detergent and water, and then rinsed off with clean water. Depending on the type of surface being painted, more powerful cleaners may need to be used such as trisodium phosphate (TSP), lacquer thinner, or alcohol.
- Sand the surface – Sanding should be done to smooth out any rough patches, ridges, or other imperfections in the surface so that the primer and paint can adhere better for a smoother finish.
- Remove any dust – Dust should be removed from the sanding process with a vacuum cleaner or damp cloth.
- Apply primer – Primer helps protect the substrate from moisture damage while also providing an ideal base layer for paint adhesion. Primers come in various types such as oil-based primers, shellac-based primers, and latex-based primers; each has its own unique properties so make sure to choose one that is suited for your project’s needs. It is important to remember that when applying primer, multiple thin coats are recommended rather than one thick coat as this ensures better coverage and better results overall.
- Allow time to dry – Once you have applied your primer and it has had time to dry completely, you can begin applying your chosen paint color! Remember to give each coat of paint adequate drying time in between applications so that you get an even finish without any streaks or brush marks showing through once complete!
How to Properly Store Primer to Maximize Its Shelf Life
It is important to properly store primer in order to maximize its shelf life and get the most out of your purchase. Primer can be stored in a cool, dry place away from direct sunlight, heat or moisture. This helps to keep the product from drying out or becoming contaminated by dirt, dust, or other contaminants. To further extend the life of your primer, it is also important to make sure that the lid is securely closed at all times when not in use. With proper storage and handling, you can ensure that your primer performs optimally for years to come!
Follow the manufacturer’s instructions carefully as each type has unique requirements like drying time, thinning ratio, etc
The Importance of Following Primer Manufacturer’s Instructions Carefully
When it comes to painting any surface, the importance of following the primer manufacturer’s instructions carefully cannot be overstated.
Dry Time
- Oil-based primers typically have a longer drying time than other types of primers, often taking up to 24 hours to completely dry.
- Shellac-based primers are an effective choice as they dry up quickly, usually within 10 to 15 minutes.
- Latex-based primers typically have a dry time of between 4 to 6 hours. This can vary depending on the surface temperature and humidity levels, as well as the thickness of the primer coat that has been applied.
Note: To speed up drying times, it is important to ensure that the surface temperature is not too high and that proper ventilation is available in the room where the primer is being applied. Additionally, fans can be used to increase air circulation around the area, helping to reduce drying times. By taking the time to read and follow all instructions provided by the manufacturer, you can ensure that your primer performs optimally for years to come!
Thinning Ratios
- Oil-based primers typically require thinning with mineral spirits, turpentine, or paint thinner in order to achieve optimal results. The recommended thinning ratio can vary depending on the manufacturer but is usually between 10%-20% (or 1 part primer to 9-19 parts thinner). This thinning helps to improve the flow of the product and ensures better coverage over the surface being painted.
- Shellac-based primers generally don’t require thinning.
- Latex-based primers typically require thinning with either water or a latex extender in order to achieve optimal results. The recommended thinning ratio can vary from 5-10%, depending on the type of primer and the surface being painted, but is usually between 8%-12% (or 1 part primer to 7-11 parts thinner).
Note: Only thin the primer if it’s absolutely necessary. In doing so, the ratios above will help to achieve optimal results. Additionally, it’s always important to read the instructions on the paint can as it will provide accurate and spot-on directions.
Looking to Hire a Painting Team?
If you’re looking for a professional painting team to manage your next project, look no further than Cova Painting. Our experienced and knowledgeable team is equipped with the latest tools and techniques necessary to get the job done right. We follow all manufacturer’s instructions carefully when it comes to priming, thinning ratios, drying times, and more so that we can provide our clients with optimal results every time. With us on board, you can rest assured knowing that your project will be completed quickly, professionally, and efficiently – regardless of its size or complexity! Contact us today for an estimate on any painting job – big or small!


